Your cart is currently empty!
Tag: dessert recipes
-
Classic Yellow Pound Cake with Chocolate Ganache and Sprinkles

🍩 Classic Yellow Pound Cake with Chocolate Ganache & Sprinkles (Donut-Inspired Cake)
If you’ve ever wished your favorite chocolate sprinkle donut came in cake form, this recipe is for you! This classic yellow cake pound cake is moist, buttery, and rich—topped with silky smooth chocolate ganache and a shower of colorful sprinkles. It looks just like a giant chocolate donut but tastes like a decadent homemade cake.
Perfect for birthdays, parties, or anytime you want to bake something whimsical yet classic, this recipe brings together the best of both worlds: the comfort of pound cake and the fun of a sprinkle donut.
Why You’ll Love This Cake
- ✅ Moist, buttery yellow pound cake base
- ✅ Easy, velvety chocolate ganache frosting
- ✅ Fun “donut” look with sprinkles
- ✅ Crowd-pleasing flavor combo everyone loves
- ✅ Perfect centerpiece dessert for any occasion
🍩 Yellow Pound Cake with Whipped Chocolate Ganache & Sprinkles
A classic yellow pound cake topped with airy, whipped chocolate ganache and rainbow sprinkles—looks like a giant chocolate sprinkle donut but tastes like a rich, decadent cake.
Ingredients
Yellow Pound Cake
- 1 cup (2 sticks) unsalted butter, softened
- 2 cups granulated sugar
- 4 large eggs, room temperature
- 2 tsp vanilla extract
- 3 cups all-purpose flour
- 2 tsp baking powder
- 1/2 tsp salt
- 1 cup whole milk or buttermilk
Whipped Chocolate Ganache
- 8 oz semi-sweet chocolate, chopped
- 3/4 cup heavy cream
- 1 tbsp unsalted butter
- 1 tsp vanilla extract
Topping
- Rainbow sprinkles
Instructions
Step 1: Bake the Pound Cake
- Preheat oven to 350°F (175°C). Grease a bundt pan or loaf pan.
- Cream butter and sugar until fluffy (3–4 minutes).
- Beat in eggs one at a time, then stir in vanilla.
- Whisk flour, baking powder, and salt in a separate bowl.
- Alternate adding dry ingredients and milk to butter mixture. Mix until just combined.
- Pour into prepared pan and bake 50–60 minutes (toothpick comes out clean).
- Cool in pan 10 minutes, then invert onto a wire rack. Cool completely.
Step 2: Make Whipped Ganache
- Heat cream in a small saucepan until just simmering. Pour over chopped chocolate in a heatproof bowl. Let sit 2 minutes.
- Stir until smooth, then add butter and vanilla.
- Chill the ganache in the fridge 30–45 minutes until thickened.
- Use a hand mixer or stand mixer to whip the ganache until light and fluffy.
Step 3: Frost & Decorate
- Spread or pipe whipped ganache over cooled pound cake.
- Sprinkle generously with rainbow sprinkles.
Tips for Success
- 🍋 Add 1 tsp almond extract for a bakery-style twist in the cake.
- ❄️ Make the cake a day ahead—flavors develop beautifully overnight.
- 🍩 Use a bundt pan for the full donut effect, but a loaf pan works too.
- 🌈 Don’t skimp on sprinkles—pile them on for the most fun look!
How to Store
- Room Temp: Covered, up to 2 days.
- Refrigerator: Keeps 5 days (bring to room temp before serving).
- Freezer: Wrap slices and freeze up to 2 months. Thaw and enjoy!
🎉 Final Thoughts
This Yellow Pound Cake with Chocolate Ganache and Sprinkles is a playful twist on two classics: pound cake and chocolate sprinkle donuts. It’s buttery, rich, and topped with a shiny chocolate glaze that makes it look just like a giant donut. Perfect for birthdays, parties, or whenever you want to bake something fun yet timeless.ps
- Chill ganache just enough to whip; if it’s too soft, it won’t hold peaks.
- Use a bundt pan for the “donut” look or a loaf pan for slices.
- Add 1 tsp almond or coffee extract to ganache for a flavor twist.
-
Easy Apple Pie Bars with Buttery Shortbread Crust youll love these!

If you love apple pie but don’t always feel like making a whole pie, these Apple Pie Bars with a buttery shortbread crust are the perfect solution. They’re easy to slice, share, and serve—making them a go-to dessert for family gatherings, holidays, or just when you’re craving a cozy fall treat. Imagine tender cinnamon apples layered between a rich, melt-in-your-mouth crust and a sweet crumb topping… absolute heaven in bar form!
Why You’ll Love These Apple Pie Bars
- ✅ Easier than making a traditional apple pie
- ✅ Buttery shortbread crust that melts in your mouth
- ✅ Sweet cinnamon apple filling
- ✅ Melted-butter crumble topping for big, crunchy clusters
- ✅ Perfect for fall baking, holidays, or bake sales
Ingredients You’ll Need
For the Crust:
- 1 cup (2 sticks) unsalted butter, softened
- 2/3 cup sugar
- 1/2 tsp vanilla extract
- 2 1/4 cups all-purpose flour
- 1/4 tsp salt
For the Apple Filling:
- 4 cups apples (about 4 medium, Granny Smith or Honeycrisp), peeled and thinly sliced
- 2 tbsp lemon juice
- 1/2 cup brown sugar, packed
- 1 tsp cinnamon
- 1/4 tsp nutmeg
- 2 tsp cornstarch
For the Melted Butter Crumble:
- 1 cup all-purpose flour
- 1/2 cup brown sugar, packed
- 1/4 cup granulated sugar
- 1 tsp cinnamon
- 1/2 cup unsalted butter, melted
Optional Glaze:
- 1/2 cup powdered sugar
- 1–2 tbsp milk or cream
- 1/4 tsp vanilla extract
Step-by-Step Instructions
Step 1: Make the Crust
Preheat your oven to 350°F (175°C). Line a 9×13-inch baking pan with parchment paper for easy removal.
Cream butter and sugar until fluffy, then mix in vanilla, flour, and salt until dough forms. Press evenly into the pan and bake for 12–15 minutes, just until the edges turn golden.Step 2: Prepare the Apple Filling
Toss thinly sliced apples with lemon juice. Mix in brown sugar, cinnamon, nutmeg, and cornstarch until apples are evenly coated.
Step 3: Make the Crumble
In a bowl, whisk together flour, brown sugar, granulated sugar, and cinnamon. Stir in the melted butter until the mixture forms clumps.
Step 4: Assemble and Bake
Spread the apple filling evenly over the baked crust. Sprinkle the crumble topping generously over the apples. Bake for 35–40 minutes, until the topping is golden and the apples are bubbling.
Step 5: Cool and Drizzle
Let bars cool completely in the pan so they set. Once cooled, whisk powdered sugar, milk, and vanilla together for a simple glaze and drizzle over the top before slicing.
Recipe Tips
- 🍎 Use tart apples (like Granny Smith) for the best sweet-tangy balance.
- ❄️ Chill before cutting for clean, bakery-style slices.
- 🍨 Serve warm with vanilla ice cream for a pie à la mode twist.
- 🎃 Swap apples for pears or add a handful of chopped pecans to the crumble for variety.
Storing Your Apple Pie Bars
- Room Temp: Store in an airtight container for up to 2 days.
- Refrigerator: Keeps well for up to 5 days.
- Freezer: Wrap bars individually and freeze up to 2 months. Thaw overnight before serving.
🍏 Final Thoughts
These Apple Pie Bars with Buttery Shortbread Crust give you all the comfort of apple pie in a fuss-free, shareable dessert. They’re sweet, buttery, and bursting with cinnamon-spiced apples—perfect for fall baking or anytime you want a cozy treat without rolling out pie dough.
-
Easy Desserts for Two!

Photo by Fawzi on Pexels.com When it comes to intimate evenings, a great dessert can make the moment even sweeter. Whether you’re celebrating a special occasion or just enjoying a quiet night together, these dessert recipes for two are perfect for sharing. They’re simple, delicious, and designed for a cozy experience. No need to worry about leftovers—these treats are just the right size for you and your loved one. Let’s dive into some indulgent yet easy dessert ideas that will elevate your evening.
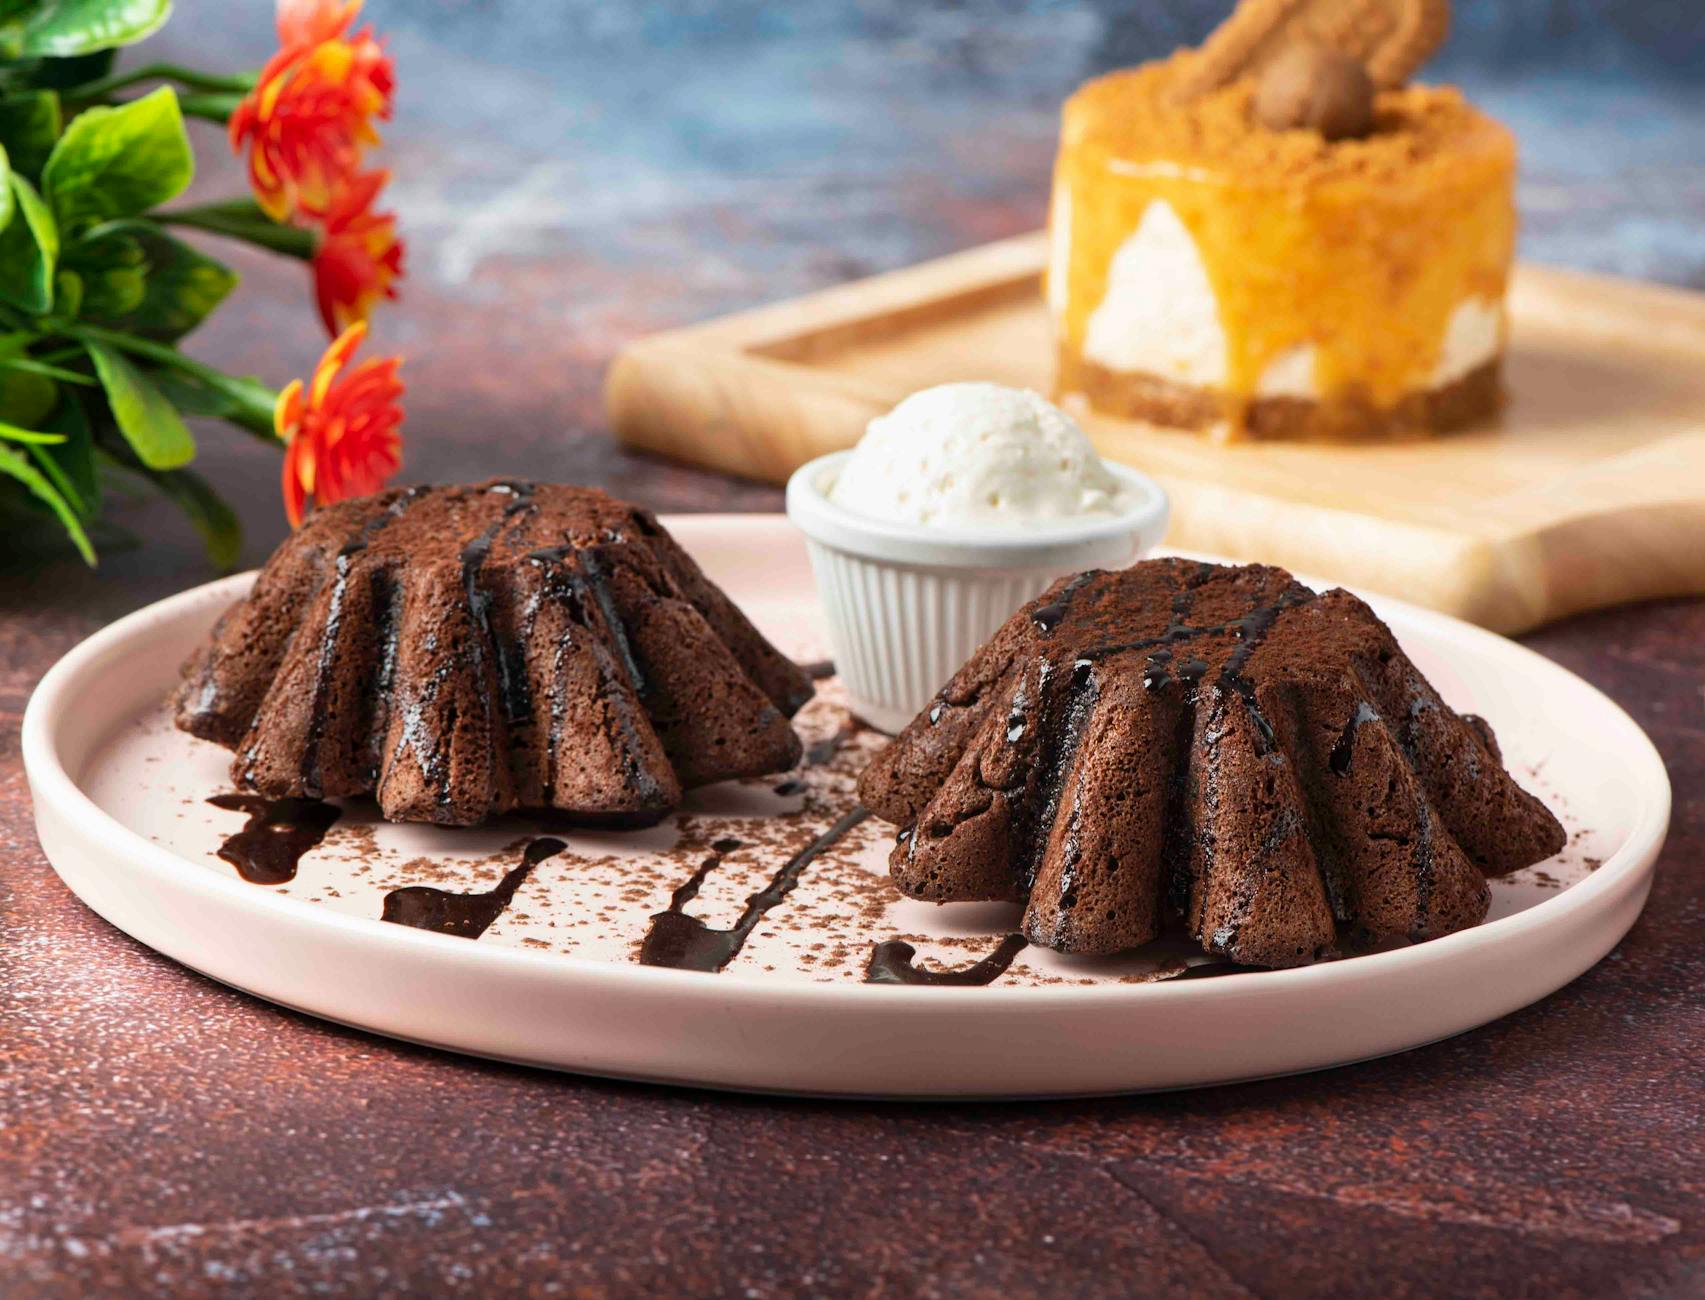
1. Mini Chocolate Lava Cakes
Description:
Warm, gooey, and filled with rich chocolate, these mini lava cakes are a chocolate lover’s dream. The best part? They’re made in individual servings, so there’s no need to share unless you want to!Ingredients:
- 2 oz dark chocolate
- 2 tbsp unsalted butter
- 1/4 cup powdered sugar
- 1/4 cup all-purpose flour
- 1 egg
- 1 egg yolk
- 1/2 tsp vanilla extract
- A pinch of salt
Instructions:
- Preheat the oven to 425°F (220°C) and grease two ramekins with butter.
- Melt the chocolate and butter together in a microwave-safe bowl in 20-second intervals until smooth and combined.
- Whisk in powdered sugar, flour, egg, egg yolk, vanilla extract, and salt until fully combined.
- Pour the batter evenly into the prepared ramekins.
- Bake for 12-14 minutes or until the edges are set but the center is soft and slightly jiggly.
- Allow the cakes to cool for 1-2 minutes before inverting them onto plates. Serve with vanilla ice cream or whipped cream for an extra treat.
2. Mini Cheesecakes
Description:
Rich, creamy, and topped with your favorite fruit, these mini cheesecakes are perfect for two. With a buttery graham cracker crust and smooth filling, they’re a classic dessert that never goes out of style.Ingredients:
- 1/2 cup graham cracker crumbs
- 2 tbsp butter, melted
- 1/4 cup granulated sugar
- 1/2 cup cream cheese, softened
- 1/4 cup sour cream
- 1/4 cup granulated sugar
- 1 tsp vanilla extract
- 1 egg
- Fresh berries (optional)
Instructions:
- Preheat the oven to 350°F (175°C).
- In a bowl, combine graham cracker crumbs, melted butter, and sugar. Press the mixture into the bottoms of two small muffin tins or ramekins to form the crust.
- In another bowl, beat together the cream cheese, sour cream, sugar, and vanilla extract until smooth.
- Add the egg and beat until combined.
- Pour the cheesecake filling over the crusts and bake for 18-20 minutes or until the tops are set.
- Let the cheesecakes cool completely before serving. Top with fresh berries for a fruity finish.
3. Strawberry Shortcake Parfaits
Description:
Light, refreshing, and perfectly sweet, these strawberry shortcake parfaits are a great way to enjoy a classic dessert in a more intimate setting. With layers of sponge cake, sweetened strawberries, and whipped cream, it’s a delicious treat that’s easy to put together.Ingredients:
- 1/2 cup strawberries, sliced
- 1 tbsp sugar
- 1/4 cup heavy whipping cream
- 1 tbsp powdered sugar
- 1/4 tsp vanilla extract
- 2 small sponge cakes or ladyfingers, crumbled (or store-bought shortcake)
Instructions:
- In a bowl, combine the sliced strawberries and sugar. Let them sit for 10-15 minutes to macerate and release their juices.
- In a separate bowl, whip the heavy cream with powdered sugar and vanilla extract until stiff peaks form.
- To assemble the parfaits, layer crumbled sponge cake or ladyfingers at the bottom of two glasses.
- Add a spoonful of the macerated strawberries, then top with whipped cream.
- Repeat the layers, finishing with whipped cream on top. Serve immediately or chill for a few minutes before serving.
4. Chocolate-Covered Strawberries
Description:
For a simple yet indulgent dessert, chocolate-covered strawberries are a classic. The combination of sweet fruit and rich chocolate is always a winner, and they’re easy to make for two.Ingredients:
- 6-8 fresh strawberries, washed and dried
- 1/2 cup dark or milk chocolate chips
- 1 tbsp coconut oil or butter (optional, for smoother coating)
Instructions:
- Melt the chocolate in a microwave-safe bowl, stirring every 20 seconds until smooth. Add coconut oil or butter for a shinier, smoother coating.
- Hold each strawberry by the stem and dip it into the melted chocolate, allowing excess chocolate to drip off.
- Place the dipped strawberries on a parchment-lined tray and let them cool at room temperature, or chill them in the fridge for 10-15 minutes to speed up the process.
- Serve and enjoy!
5. Vanilla Bean Panna Cotta
Description:
This Italian classic is simple, creamy, and elegant. The delicate flavor of vanilla bean makes for a luxurious dessert that pairs perfectly with fresh berries or fruit compote.Ingredients:
- 1 cup heavy cream
- 1/2 cup whole milk
- 1/4 cup granulated sugar
- 1 vanilla bean, split and scraped (or 1 tsp vanilla extract)
- 1 tsp unflavored gelatin
- 2 tbsp water
Instructions:
- In a small bowl, sprinkle the gelatin over the water and let it sit for 5 minutes to bloom.
- In a saucepan, heat the heavy cream, milk, and sugar over medium heat until it just starts to simmer.
- Remove from heat and stir in the vanilla bean seeds and gelatin mixture. Stir until the gelatin is completely dissolved.
- Pour the mixture into two small ramekins or glasses and refrigerate for at least 4 hours, or until set.
- Serve the panna cotta with fresh berries or a drizzle of honey for a beautiful finish.
Conclusion:
These desserts for two are perfect for creating memorable moments with your loved one. Whether you’re indulging in rich chocolate lava cakes, creamy mini cheesecakes, or refreshing strawberry shortcake parfaits, each recipe offers something sweet and special. Easy to make, delicious, and perfectly portioned, these desserts will make any evening extra sweet!
Enjoy your intimate evening with these delightful desserts! Let me know if you need more ideas or adjustments.